
So, I have a couple of local cookie friends, which is awesome, because I can talk cookie on a regular basis with friends near and far. This morning I ran in to one such friend and ended up giving her an impromptu five minute lecture on cookie pictures and computers, and I thought I would share the highlights with you too, in case it is helpful to someone!
First of all, I have had several projects lately either for publication or for use on the web that have had me brush up on my pixel and dpi knowledge. Here’s the highlight. For any picture posted on the computer or a website, all you need to know is its pixel size. So for example, if you are interested in doing the interesting challenge this month on Cookie Connection, you will need to size your submissions to a certain size. In the example of that submission, the thing to know is that you need one photo 1900 x 1200 pixels, and another banner pic that is at minimum 690 x 127 pixels. First of all, what this means is that this is the proportion of these images. The first is a rectangle a bit wider than it is tall. And the second is very wide and not very tall. One thing to note is that sometimes, only the proportion is what matters- ie, if the banner photo is 1380 pixels wide and 254 pixels tall, that will probably work great, maybe even better, as that other size will be kind of a small picture. BUT a 20700 x 3810 pixel image would not be better, because that is an enormous picture that would look blurry when shrunk down to the the computer screen size (because programs and video cards have a limit to what they want to show you), and will tax the computer that has to do the shrinking. Similarly, something the same proportion but smaller is no good either, it will look out of focus as the computer scrambles to interpolate some pixels to fill in the gaps as it stretches the image. (Sorry for the computer anthropomorphic-ization!)
A quick note here that I have discovered that a too big image is no good for social media. Most platforms make public their ideal pixel ratios (Google is your friend), and I try and keep that in mind. The image wants to be big enough to look good on a computer screen, but small enough that it won’t need to be scrunched too much to fit on a phone. If it is poster size, the social media platform will downsize that image for you, and it will blurry!
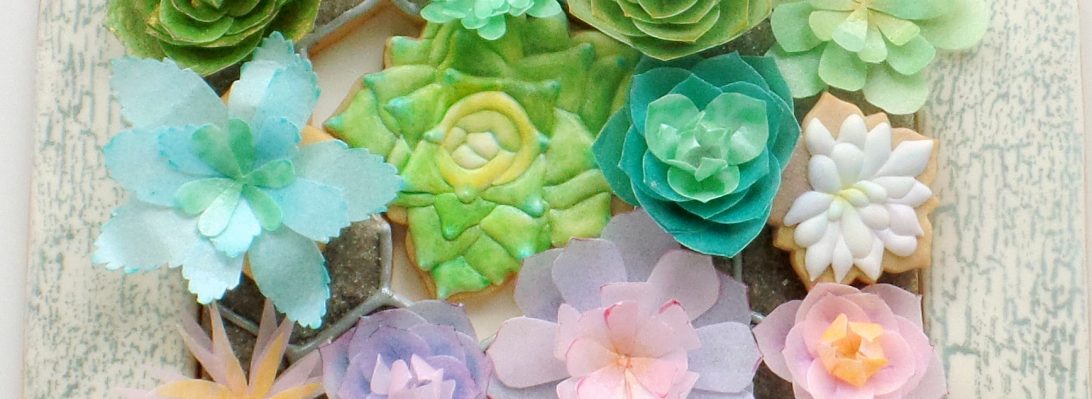
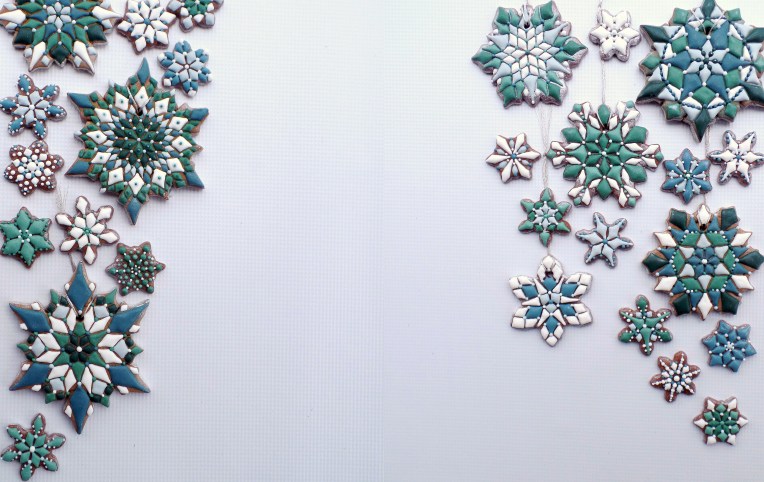
When I take pictures I usually have the camera set to take the biggest picture it is capable of, as downsizing an image is way better than upsizing it. Even with that, there is an overall limit to what I will be capable of doing with my camera- there are no billboard photos in my future. In the case of the Cookie Connection challenge photos, I will be organizing the shot with the right proportions implied by the pixels. Then, as always, I will experiment with how close or far away to take my picture. Depending on lighting conditions and your camera settings, sometimes for bigger layouts, I need to back up a bit to let in more light, and to be at the best focal distance for the camera. It has a “macro” setting that lets me get in close and get good focus, but that works better for one or two cookies. It doesn’t tend to work as well when I need to get in a big array, so I usually have it set to regular interior shots, and I just take some test shots to see what distance works best. EDITED TO ADD: When I took the pictures, the cookies were all around the border, with the middle empty because it will be covered in the website. Well, that meant I had a very sharp white middle and a very blurry edge, because that is how the camera focuses unless you are more of a pro then I am! So I ended up taking two pictures and collage-ing them together side by side. I just sized each side to half of the final size when cropping them initially.
Now, when you are taking pictures for print publication, size becomes a much bigger issue. That is where DPI, or dots/pixels per inch, comes in. If you are trying to do a picture that will be printed at a larger size- 8×10 or 8.5×11 inches, you need a good size (in pixels) image. Most publication works well at 300DPI. So for an 8×10 photo, you would need a 2400 x 3000 pixel image or larger. So for every inch of your print, you need the number of pixels of your dpi. (300 pixels time 10″ equals 3000 pixels tall.) In the case of print, bigger is better, but smaller won’t do at all. That’s when things get blurry in print. When I am taking pictures that need to be larger like this, I make sure to minimize the need to crop, and get in as close as I can to the finished shot. That way I am pretty sure I’ll have the pixels I need.
Now, to get my pictures from camera to the right ratio/size, I edit them with two programs. I use the Picasa download on my computer to brighten, crop and add text. Picasa lets you set custom cropping ratios- so I have programmed in already a FB banner, my blog banner and a few other things. For the Cookie Connection submission, you know I will be typing in the right ratios for those pictures!
A BIG WARNING HERE: If you use a web based editing program like picmonkey, they WILL downsize larger images as they import them, which is no biggie for most social media and blog applications, but is no good for other uses. One friend found that when she was importing her very large images they were becoming blurry in the downsizing, so that when she was trying to crop them to the right pixel size, they were sort of stretching them big enough again and then it was just a hot mess. Another friend was putting her pictures in and trying for a large size for print, and then scratching her head when her perfect picture ended up out of focus.
For me, if my photo is destined for social media, I open it with Microsoft Paint and use their re-sizing tool to downsize the image- usually half as big as what is in my camera is a good size for Facebook. But save both! You never know when you might want to use a picture for something else besides your feed.
My mac friends tell me that iPhoto on the Mac is very similar to Picasa, and that when you export your photos from there you can choose a size- Full size, large, medium and small, which lets you do something similar to what I use paint for. If it were me, I’d probably be using medium on FB, and full size for my prints. Some Mac programs even have settings like “Ipad” that optimize for social media. But these are just rumors I’m hearing in PC land. 😉
So…it’s kind of a complicated issue, and I played a little fast and loose with some of the technicalities to try and make it clear. Is this helpful to anyone? I hope so!!! Questions? Let me know!
